Few Ways To Optimize Images Without Using Plugin
We all prefer to use images inside our articles. Images are beneficial to describe what the author is trying to manifest inside an article. Displaying some images keeps your readers more involved in the topic.
During content creation, when it comes to image optimization people usually suggest using proper alt text. However, optimizing an image is much more than just naming it and using suitable alt text.
While optimizing an image for SEO is necessary, optimizing that for page loading speed is a significant part. As a result of optimization, you will achieve better page speed and SEO results.
Optimizations You Can do Before Publishing an Image
It’s always better to optimize your images before uploading them to the media gallery. You can take advantage of powerful tools like Photoshop or your favorite image editor. Prepare the image nicely by cutting, resizing, compressing, and saving in a proper format (PNG/JPEG/GIF) before uploading. Don’t forget to give a descriptive filename to it.
Hint: If your website needs high-quality images (Example: Stock Photo Website, Photography Website, Travel Blog, etc) then optimization of images will not help you because it will reduce the quality as well.
1. Find Unoptimized Images
After assigning the images to the published post, the post-publishing image optimization part will start. First of all, we have to scan and identify the problems with the uploaded images. There are tools like GTmetrix and Pingdom which can help you detect the problem with an image. GTmetrix shows the problem in detail so I would recommend you test a particular page with GTmetrix.
Run your website through GTmetrix. As soon as the analysis is complete GTmetrix will display all the results regarding that page into two different tabs “Page Speed” and “Yslow”.
There are 7 types of image-related problems that can occur on a page. We will first try to solve the most important ones before heading towards the least cause problems.
- Serve Scaled Image: Resize a large image into a correct dimension that your themes HTML & CSS specify.
- Optimize Images: Compress the images losslessly.
- Specify Image Dimension: Define the width and height of images in HTML or CSS
- Make Favicon Small and Scalable: The preferred size of a favicon is 16x 16x.
- Use a content delivery network (CDN): Serve images from a CDN URL.
- Leverage browser caching: Cache image files using a caching plugin.
- Minimize Redirect: Serve images with proper HTTPS.
- Combine Images Using CSS Sprite: Combine images into as few files as possible using CSS sprites.
GTmetrix will present image related test results like this:

2. Serve Scaled Images
If you get a warning to serve scaled images by GTmetrix, this means that the page includes some oversized images. GTmetrix recommends you resize them into the correct dimension (will be provided by GTmetrix) which matches your theme design.
As soon as you resize the images into the recommended dimension the warning of serving scaled images will disappear. It will help you decrease the page size as well.
Resize The Images Manually:
In this case, you should be resizing the images manually. Using a plugin will not be helpful because every image is recommended to be set in a different dimension.
You can use an online image editor to resize the images which are required. Open the editor iloveimg and upload the image file from your computer or you can download the original image from the GTmetrix link shown in the warning.
Caution: Do not change the image title.
Set the recommended dimensions inside the editor and resize the image and download the resized version.

Check the original file location in GTmetrix and now upload the resized image to that location using a hosting file manager or any FTP client. You should see the overwrite confirmation popup while uploading the image and select confirm.
Resize and upload back all the images which required proper scaling. As soon as you finish the process, recheck the page with GTmetrix and the warnings will disappear.
3. Optimize Images
This warning usually appears when a page contains losslessly uncompressed images. Losslessly compressing an image will help to reduce the size of the image, resize image files themselves instead of via CSS, and most importantly decrease page loading time.

To fix this issue open the optimized image in a new tab which is recommended by GTmetrix and download it. Copy the file name from GTmetrix (Image URL) and rename the downloaded file by pasting the copied name.

Now open your website file manager or use any FTP plugin and upload back the optimized images into the correct location (wp-content/uploads/date/….). Repeat the same procedure for all the unoptimized images. When finished, re-test the page with GTmetrix and optimize the images warning will be solved.
4. Specify Image Dimension:
Specifying the width and height for the images (In HTML and CSS) enables faster rendering by rejecting the need for unnecessary repaints.
This warning appears when GTmetrix detects any image on your website that doesn’t have the width/height mentioned inside the HTML or CSS code. Some themes automatically attach the image dimension while some others don’t.

Visual editors and live page builders like Divi, and Elementor allow you to specify image dimensions so they can assist you to fix this problem.
If you don’t use visual editors then adding width/height in HTML code will end this warning. A great example of using dimensions in the WordPress widget area is:
5. Make Favicon Small and Scalable:
A favicon is an icon connected with a web page. This little image remains in the “favicon.ico” file in the server’s root. During page load since the browser requests this .ico file, hence it needs to be present there.
Every time a browser requests this favicon file, the cookies for the server’s root are sent. So making the favicon small will help to reduce the cookie size for the server and improve the performance of the website as well.
You need to make sure that the favicon size is 16x16px, the file is in favicon.ico format, and is cached using the cache plugin.
Optimization after publishing an image
Post publishing optimizations include managing image loading hierarchy, caching, and extra push with a faster asset delivery network. Here’s what you can do to optimize your images after publishing without using a plugin.
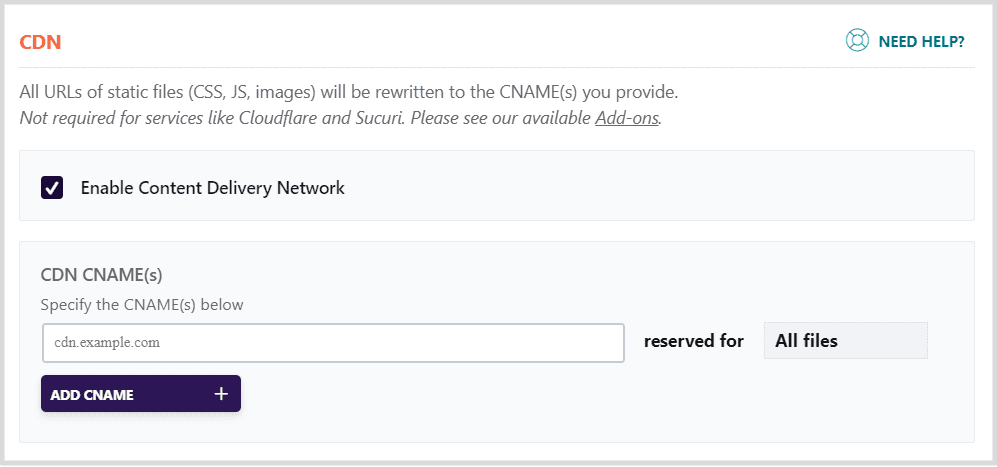
1. Use a content delivery network (CDN)
CDN is a set of web servers distributed over multiple locations around the globe to deliver your content more efficiently to users. The advantage of having a CDN, it can provide an equally fast website performance to your users across the globe.
While using a CDN you need to serve the images from a different URL, which is your CDN URL.
For example:
Image URL without CDN: https://yourdomain.com/wp-content/uploads/2019/05/an-image.png
Image URL with CDN: https://static-ea7a.kxcdn.com/wp-content/uploads/2019/05/an-image.png
There are various CDN providers available, but I use KeyCDN and Cloudflare. Cloudflare serves the contents with 150+ data centers while KeyCDN has 34 data centers. Cloudflare is easy to combine with other CDN providers increasing the data centers for faster content delivery.
Since Cloudflare doesn’t set CDN URL for the images, hence we will serve images from KeyCDN.
2. Server WebP images
WebP is an excellent replacement for JPEG, PNG, and GIF images. Like other regular formats, WebP supports both lossless and lossy compression. Lossless compression prevents any kind of data loss. Lossy compression reduces file size, but at the expense of possibly reducing image quality. Usually, you will require a plugin to convert your website’s images to webp and serve them across your site and I would suggest so because this is the safest way to serve WebP unless you know what you are doing.
WebP images are 25 to 35% smaller than their JPEG and PNGs. This helps in reducing page sizes and improves performance.
Typically WordPress shows you an error message of not supported file type whenever you upload a WebP image. To overcome this you must check whether your web host support serving webp files. You can ask them to let your site serve webp image files.
Next, follow the steps below to upload WebP images in WordPress.
- First, log into your WordPress admin panel.
- Go to the Appearance section.
- Then go to Theme Editor for editing the theme.
- You will have to select the Theme Functions from there [functions.php]
- Then append the code mentioned below in the function.php file. (do not override any available code)
- Now, all you need is to update the function.php file.
Code to add in function.php file:
function webp_upload_mimes( $existing_mimes ) {
	// add webp to the list of mime types
	$existing_mimes['webp'] = 'image/webp';
	// return the array back to the function with our added mime type
	return $existing_mimes;
}
add_filter( 'mime_types', 'webp_upload_mimes' );
//** * Enable preview / thumbnail for webp image files.*/
function webp_is_displayable($result, $path) {
    if ($result === false) {
        $displayable_image_types = array( IMAGETYPE_WEBP );
        $info = @getimagesize( $path );
        if (empty($info)) {
            $result = false;
        } elseif (!in_array($info[2], $displayable_image_types)) {
            $result = false;
        } else {
            $result = true;
        }
    }
    return $result;
}
add_filter('file_is_displayable_image', 'webp_is_displayable', 10, 2);
3. Preload Responsive Image files
Preloading critical images can boost your site performance. By preloading, an image file you are telling the browser about critical images that you want to load as soon as possible before they are discovered in HTML. This is especially useful for images such as site logos, background images, cover images, etc.
To preload an image you can use this code at your site header (you can use a header and footer plugin for that)
<link rel="preload" as="image" href="important.png">
For responsive images:
<link rel="preload" as="image" href="wolf.jpg" imagesrcset="wolf_400px.jpg 400w, wolf_800px.jpg 800w, wolf_1600px.jpg 1600w" imagesizes="50vw">
4. Lazyload Image Files
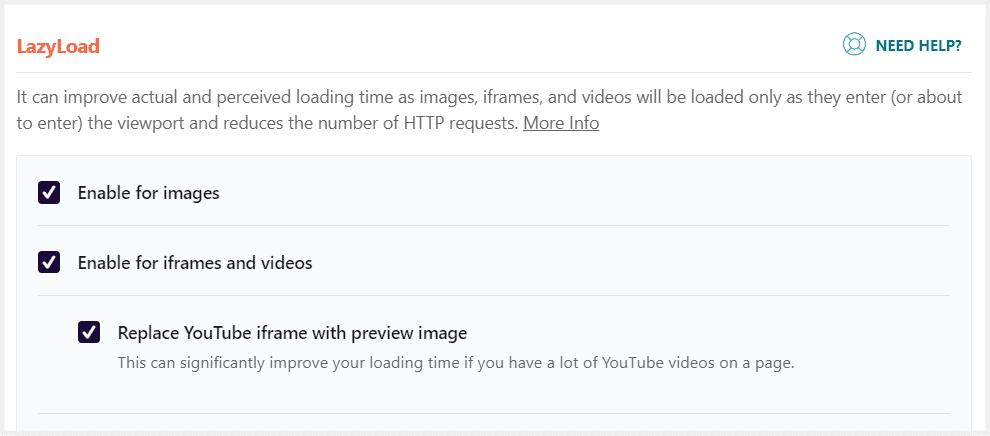
Lazy Loading Images is a technique that defers the loading of images on a page to a later point in time – when those images are actually needed, instead of loading them up front. It helps in improving page performance, better utilization of the device’s resources, and reducing associated costs.
Again, lazyloading images with a plugin is a handier process than configuring it manually. Although check this guide on how you can lazyload image loading on your site, manually.
Conclusion:
Images are heavy assets for a page and need to be optimized to avoid performance drops. This guide will help you keep your page size smaller with the proper image optimizations. This is very much focused on image optimization without using plugins but I can tell you with optimization with plugins make this process much easier and provide a great boost to your page performance.


